• Home
  • Indoor Bonsai
  • Outdoor Bonsai
  • Bonsai Styles
  • Bonsai Care
  • Bonsai Training
  • Bonsai Pots
  • Bonsai Tools

How to Take Care of a Bonsai Tree

Your One-Stop Guide on How to Grow a Bonsai Tree

Step by Step Guide to Growing Bonsai from Cuttings in Dirt

March 17, 2014 by Bonsai Tree Care 2 Comments

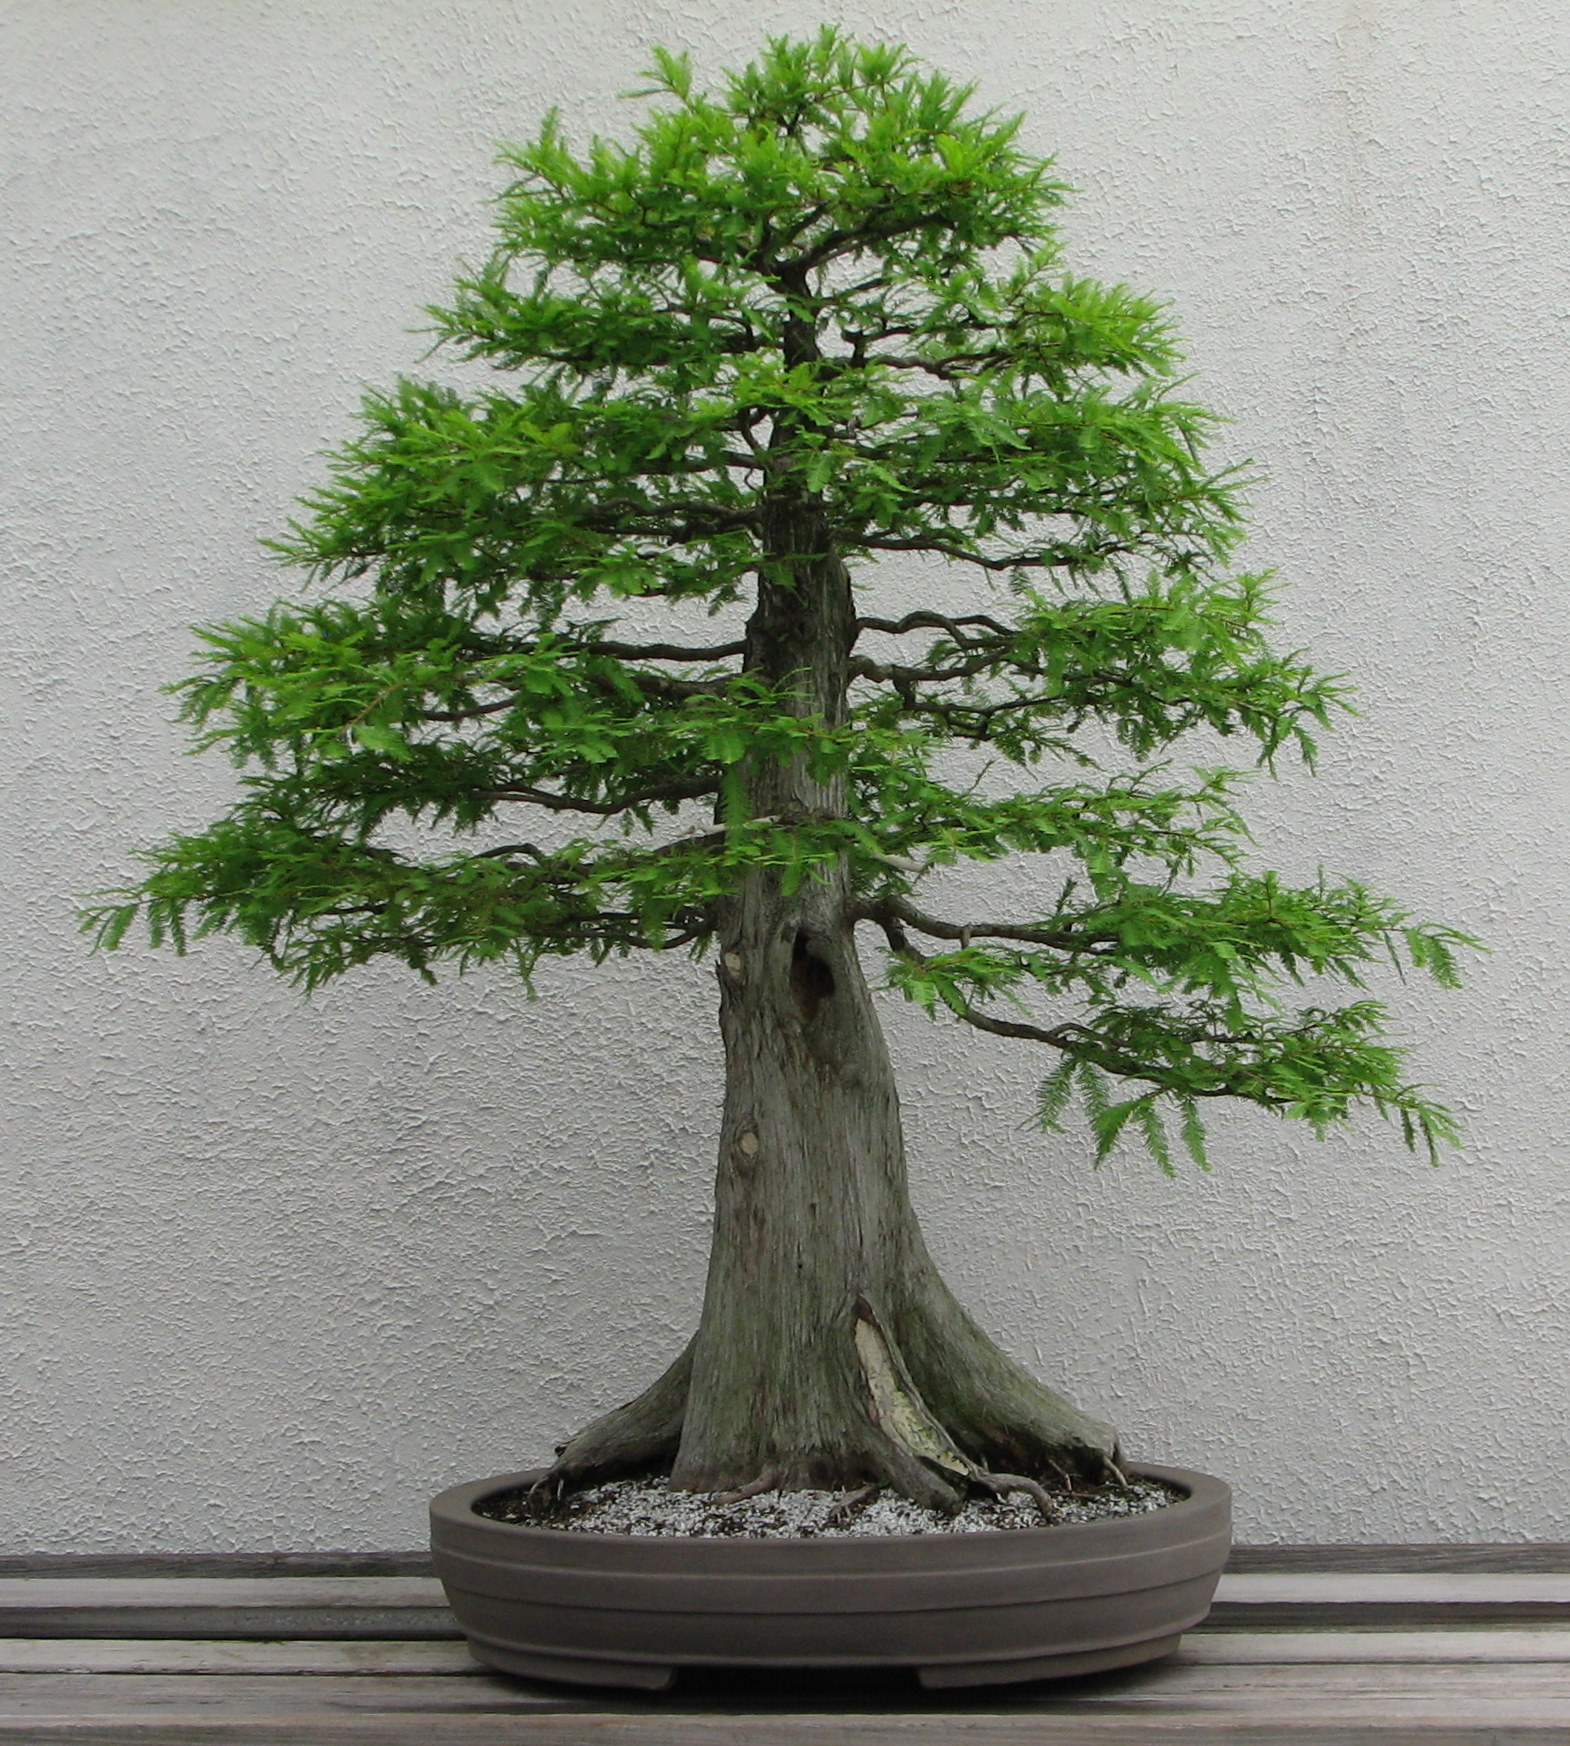
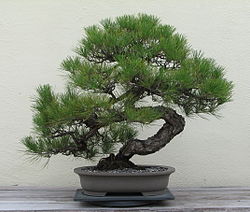
Plants have the amazing ability to recover from almost anything under the right conditions.  One of the easiest ways to reproduce a bonsai for FREE is to grow it from cuttings.  In this process, you place a small limb that you cut off into the dirt, and over time it will grow its own roots.  This is very common in plant nurseries because you can mass produce plants for very little cost.  They also use this technique to reproduce certain strands of plants.  The cuttings will have the exact same DNA as the plant they were taken from, which is different from a plant grown from seed which takes DNA traits from two plants like a human.  Growing bonsai from cuttings is very simple and anyone can achieve great results.

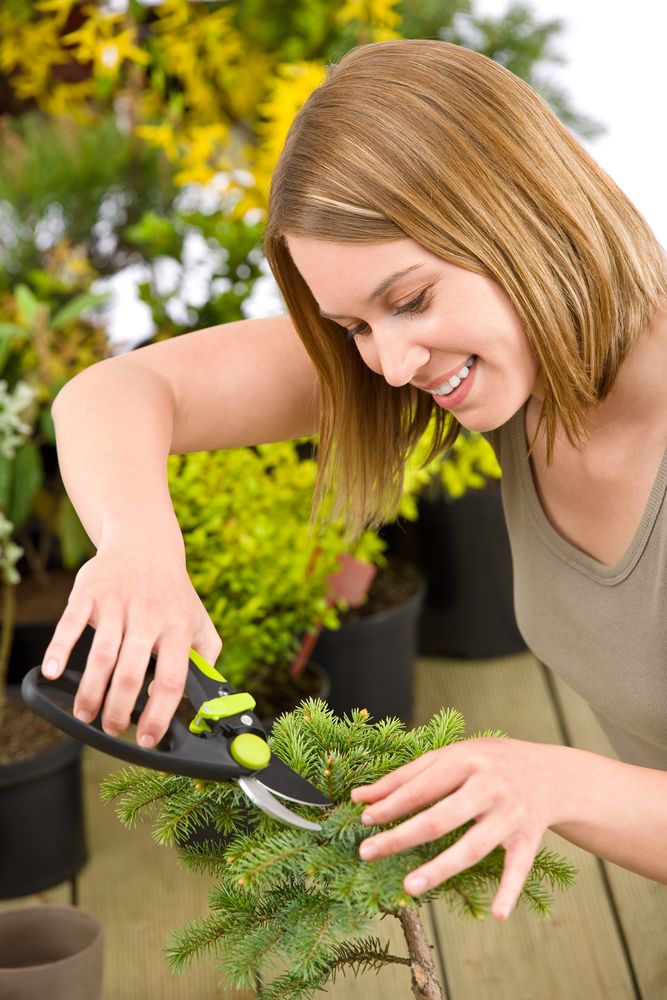
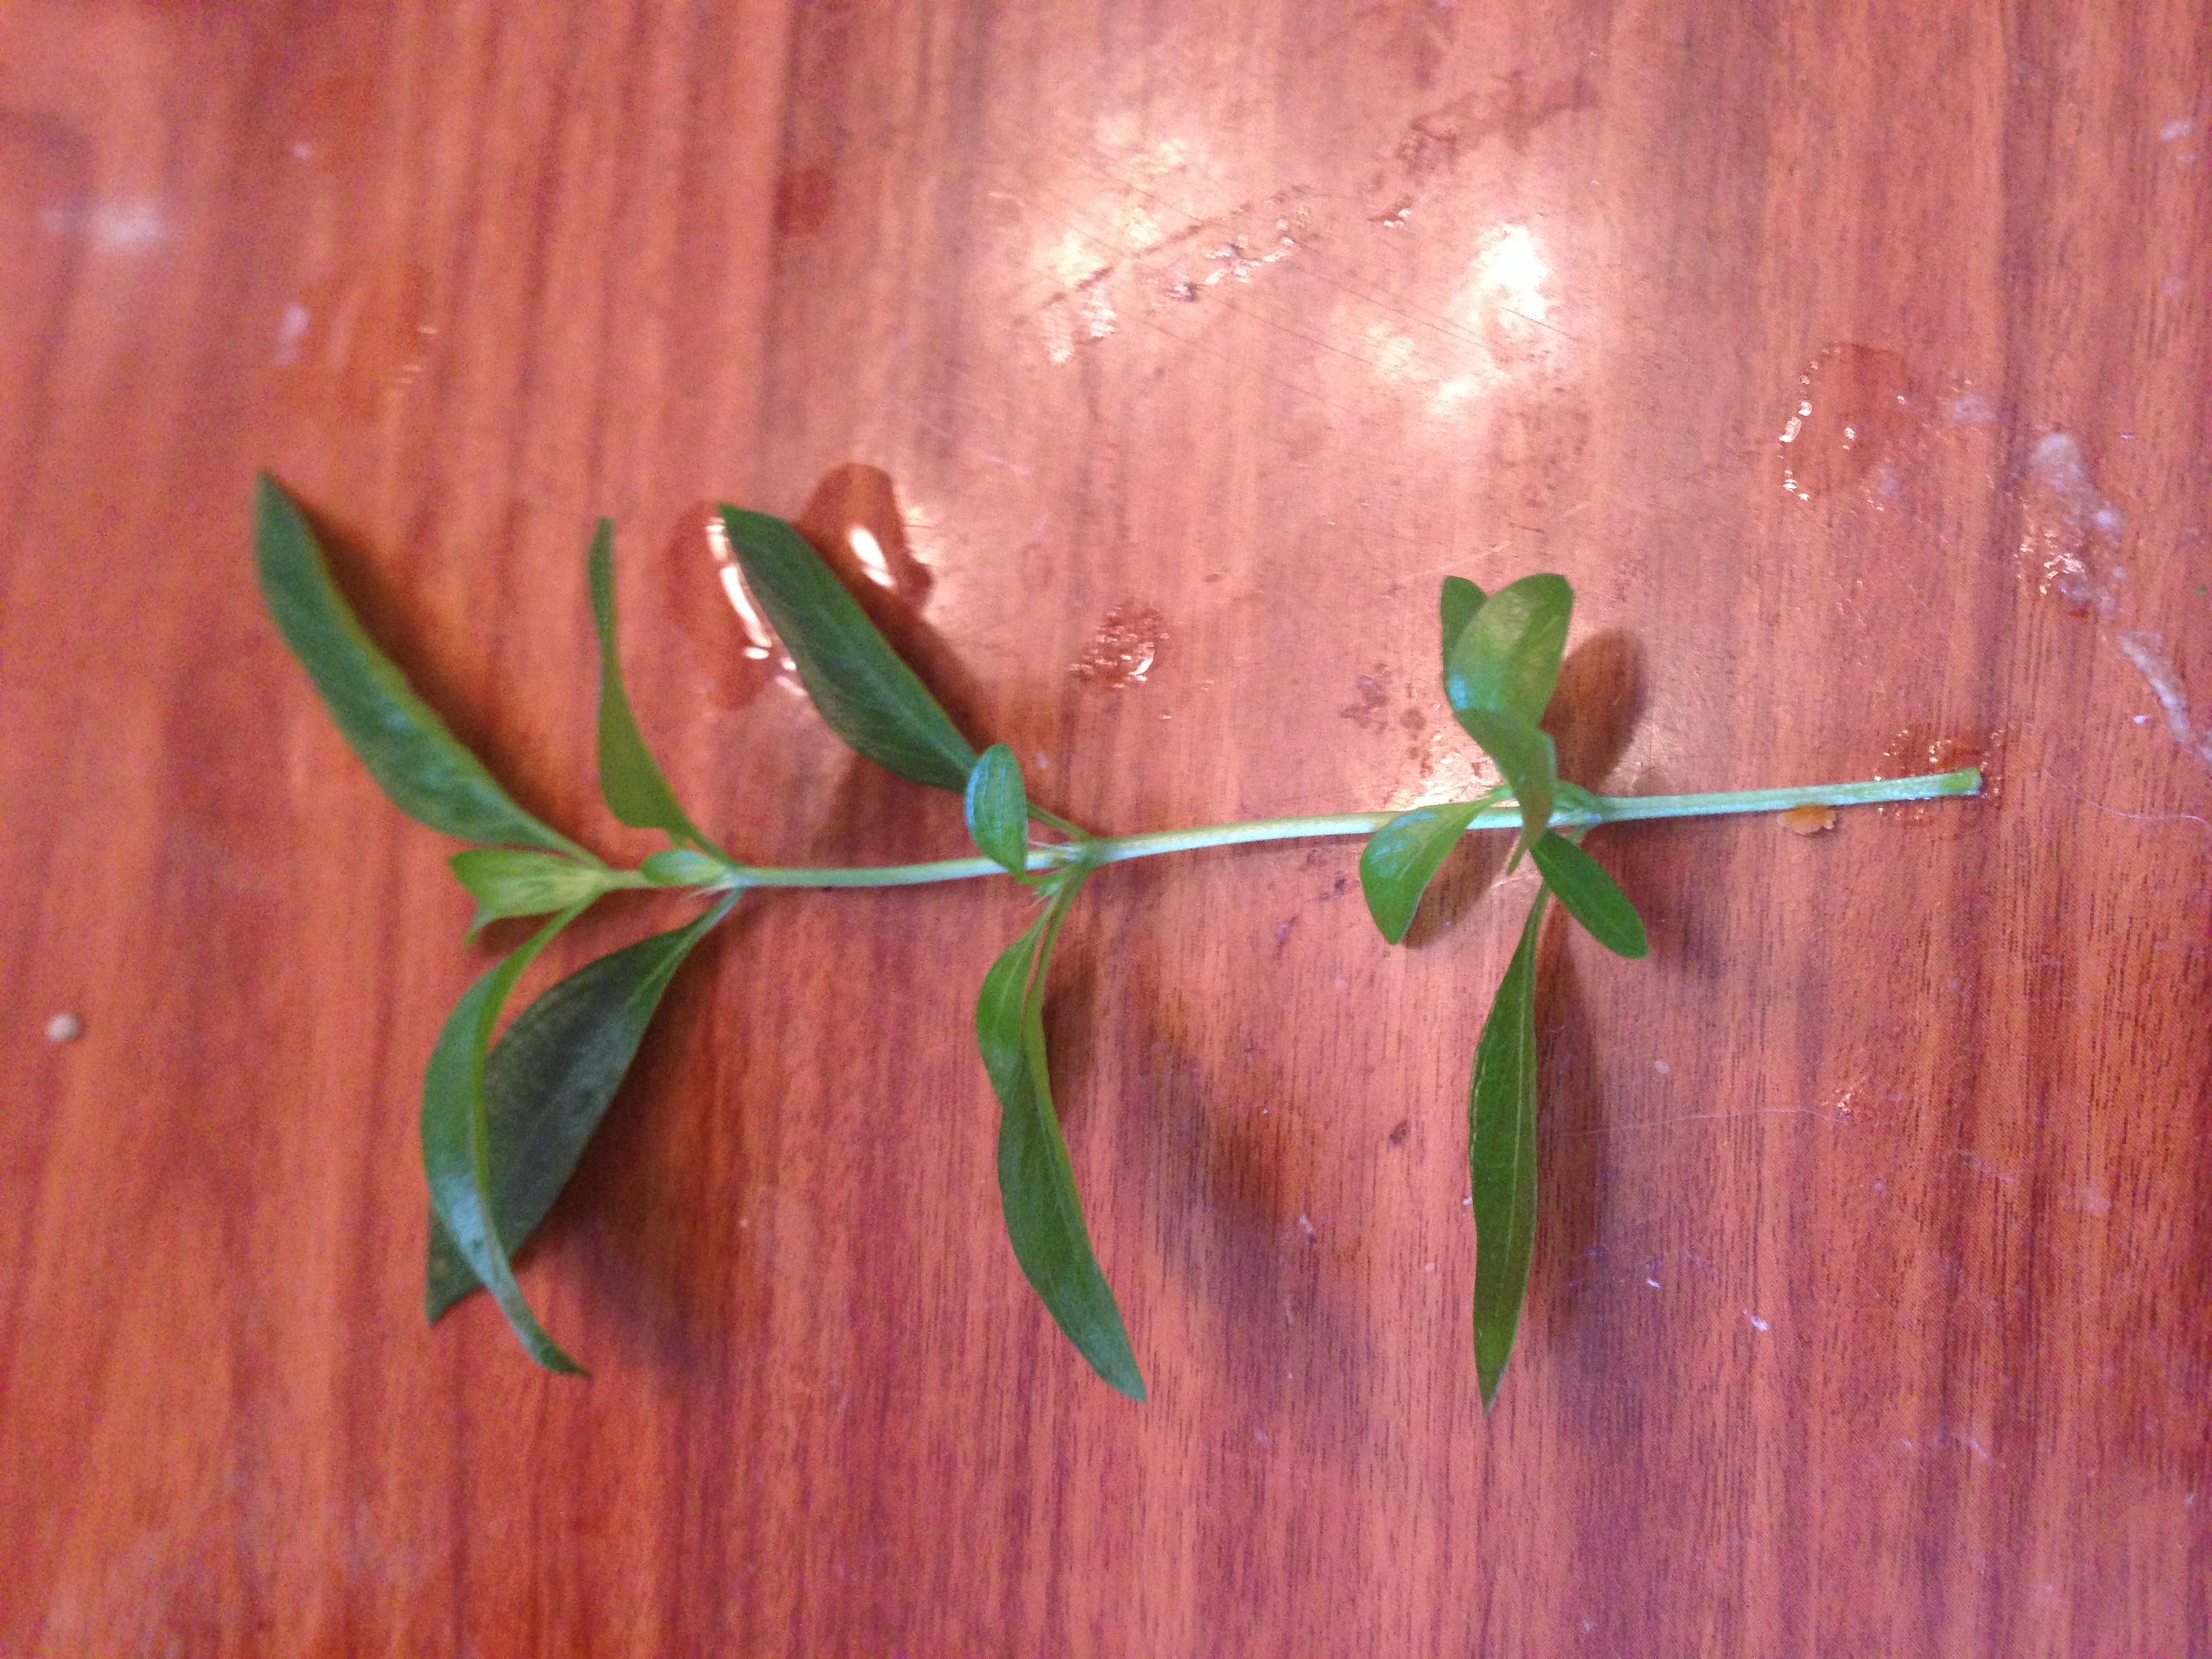
1.) Trim your bonsai tree as you would normally, placing the trimmings into a bowl of water as they fall.  Only keep the cuttings that are at least 3 leaf nodes long, or have at least 3 sets of leaves.  The optimal size for most trees is five or six nodes long.  The roots will come from those leaf nodes, so it is important to ensure at least 2 nodes are in the ground.

Taking Bonsai Cuttings

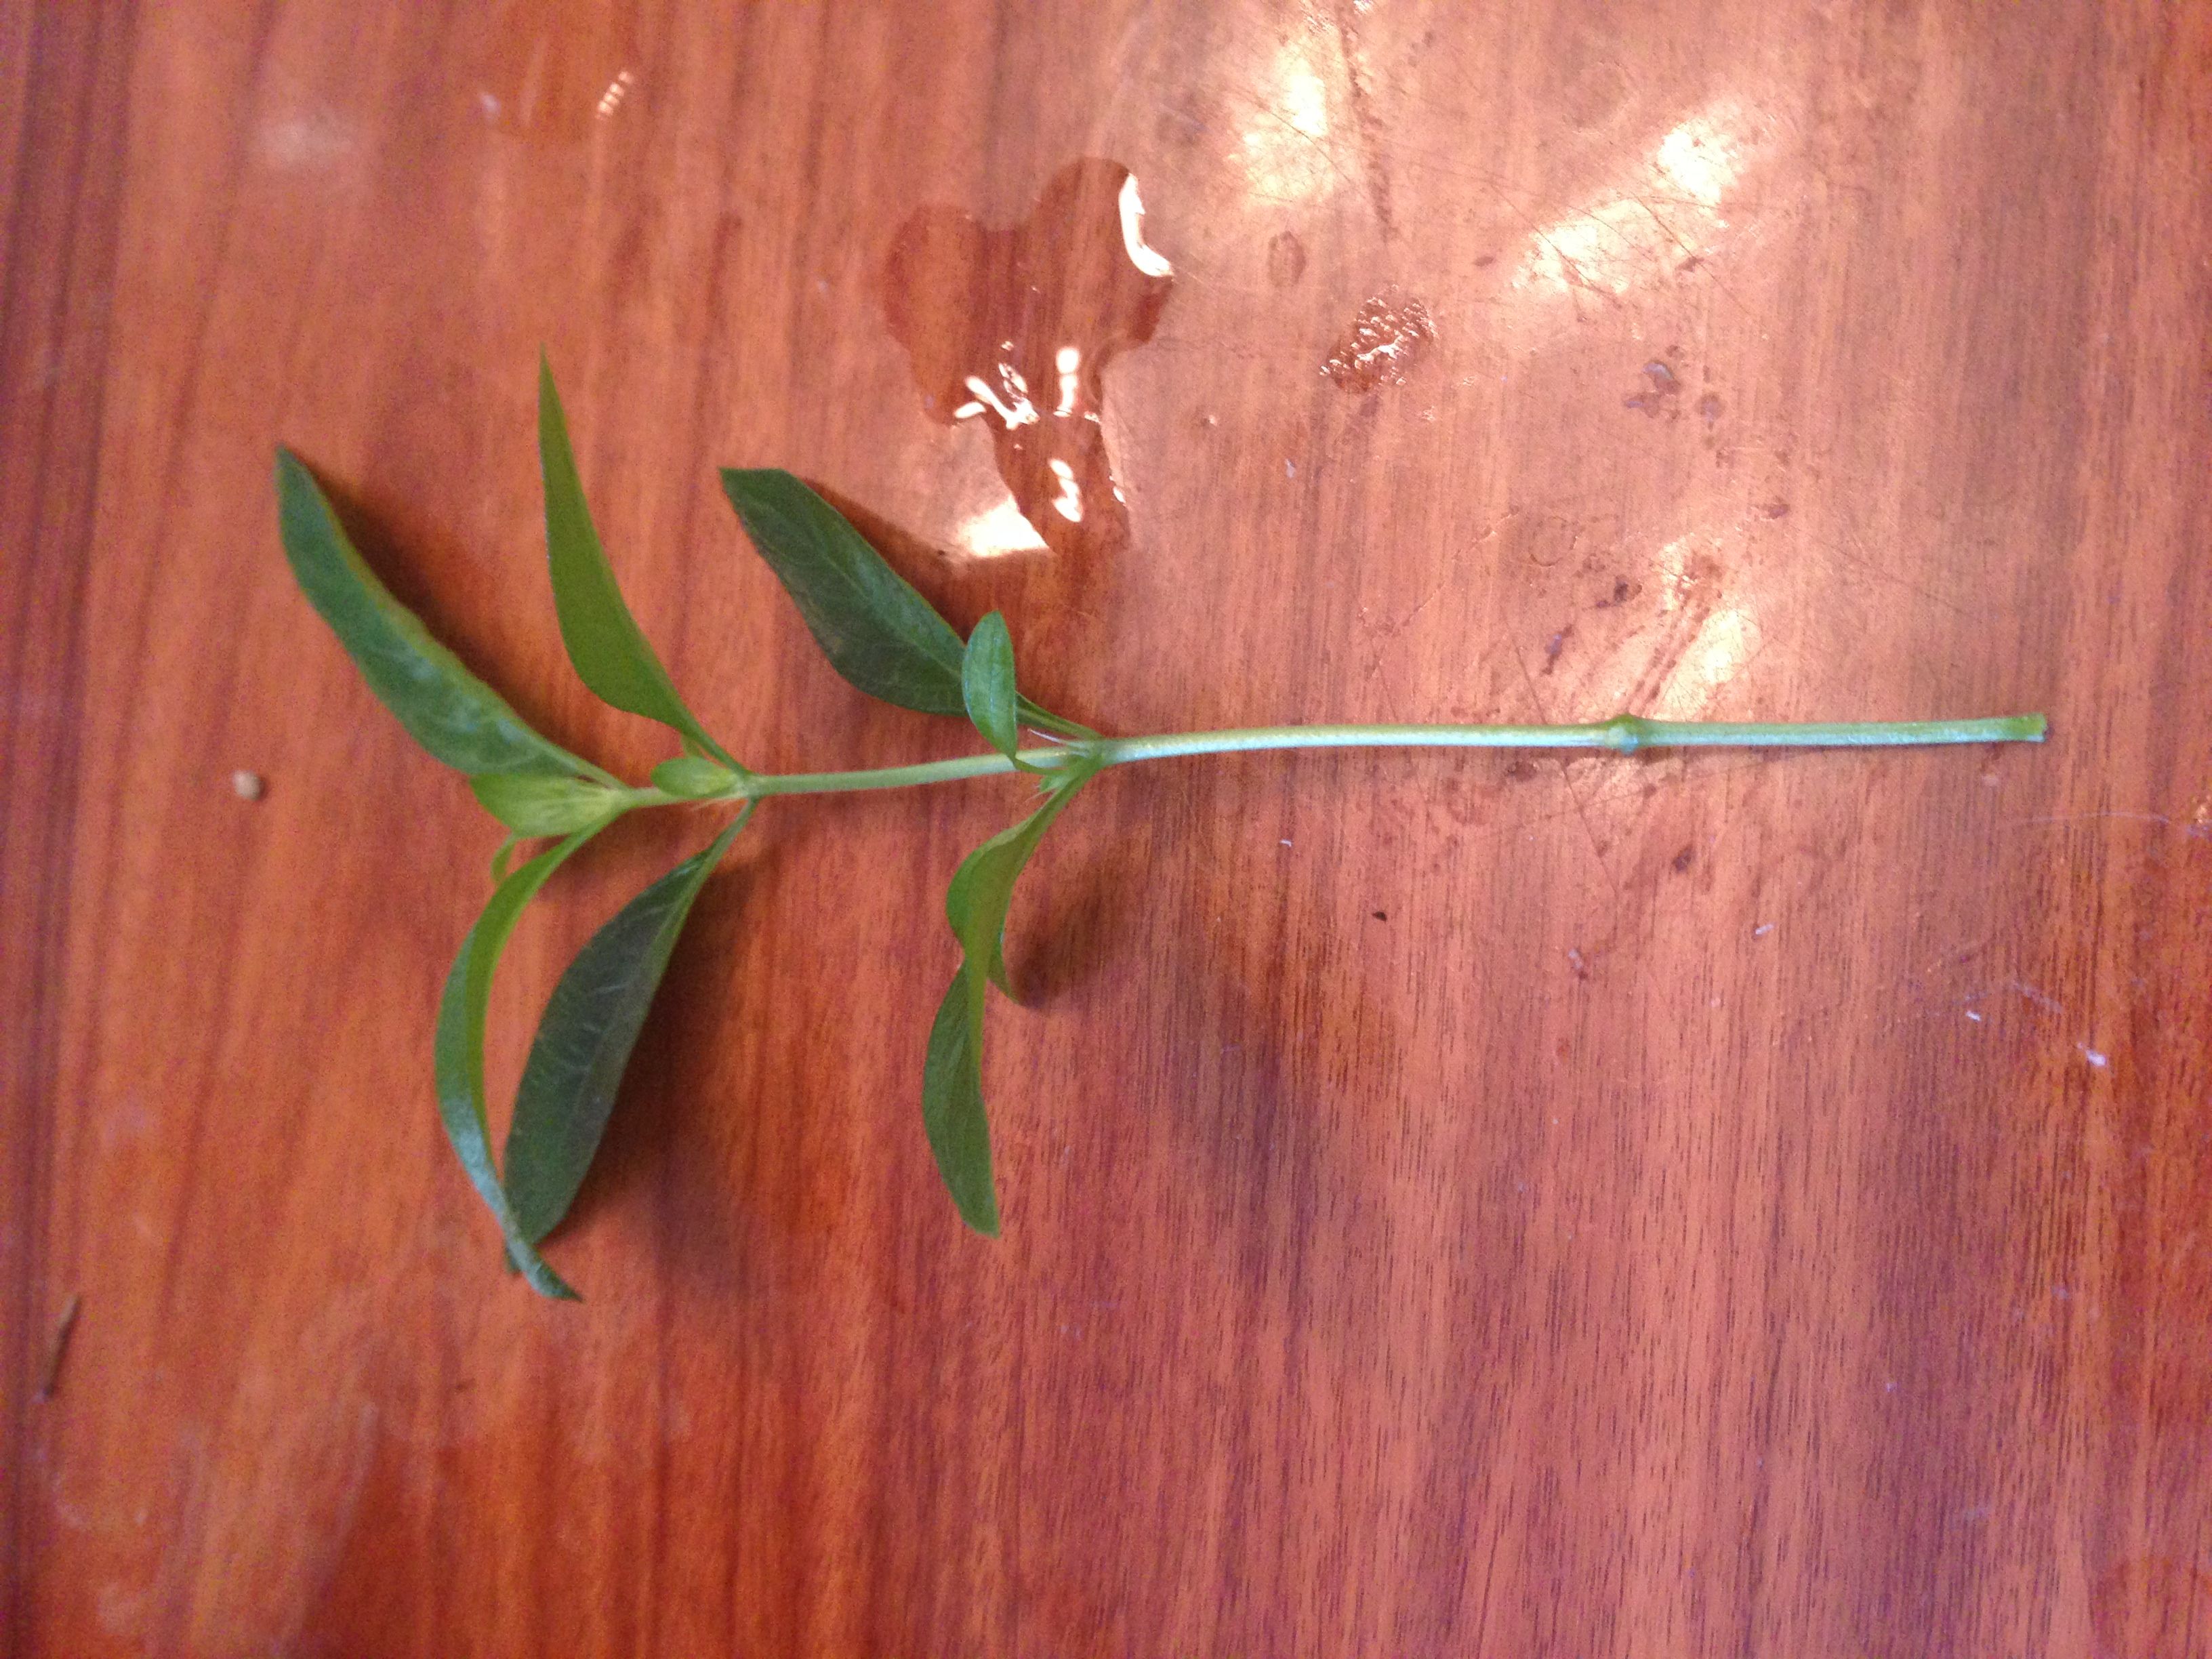
2.) Remove the leaves from the bottom two leaf nodes of the cutting.  Just lightly pinch the branch and slide your fingers down.  The leaves should separate easily and can be discarded.

Trimmed Bonsai Cutting Bonsai Cutting

3.) Dip the cuttings in some rooting hormone if available, up to the second leaf node.  This is not absolutely necessary to achieve good results, but it will increase the chance of survival.   This product will help provide the nutrients the cutting needs faster.  Let the cutting soak for three to five seconds before removing.

4.) Stick the cutting straight into the dirt, 2 nodes deep if possible.  Press down on the dirt around the cutting to ensure that it will stay standing.

Stuck Bonsai Cuttings
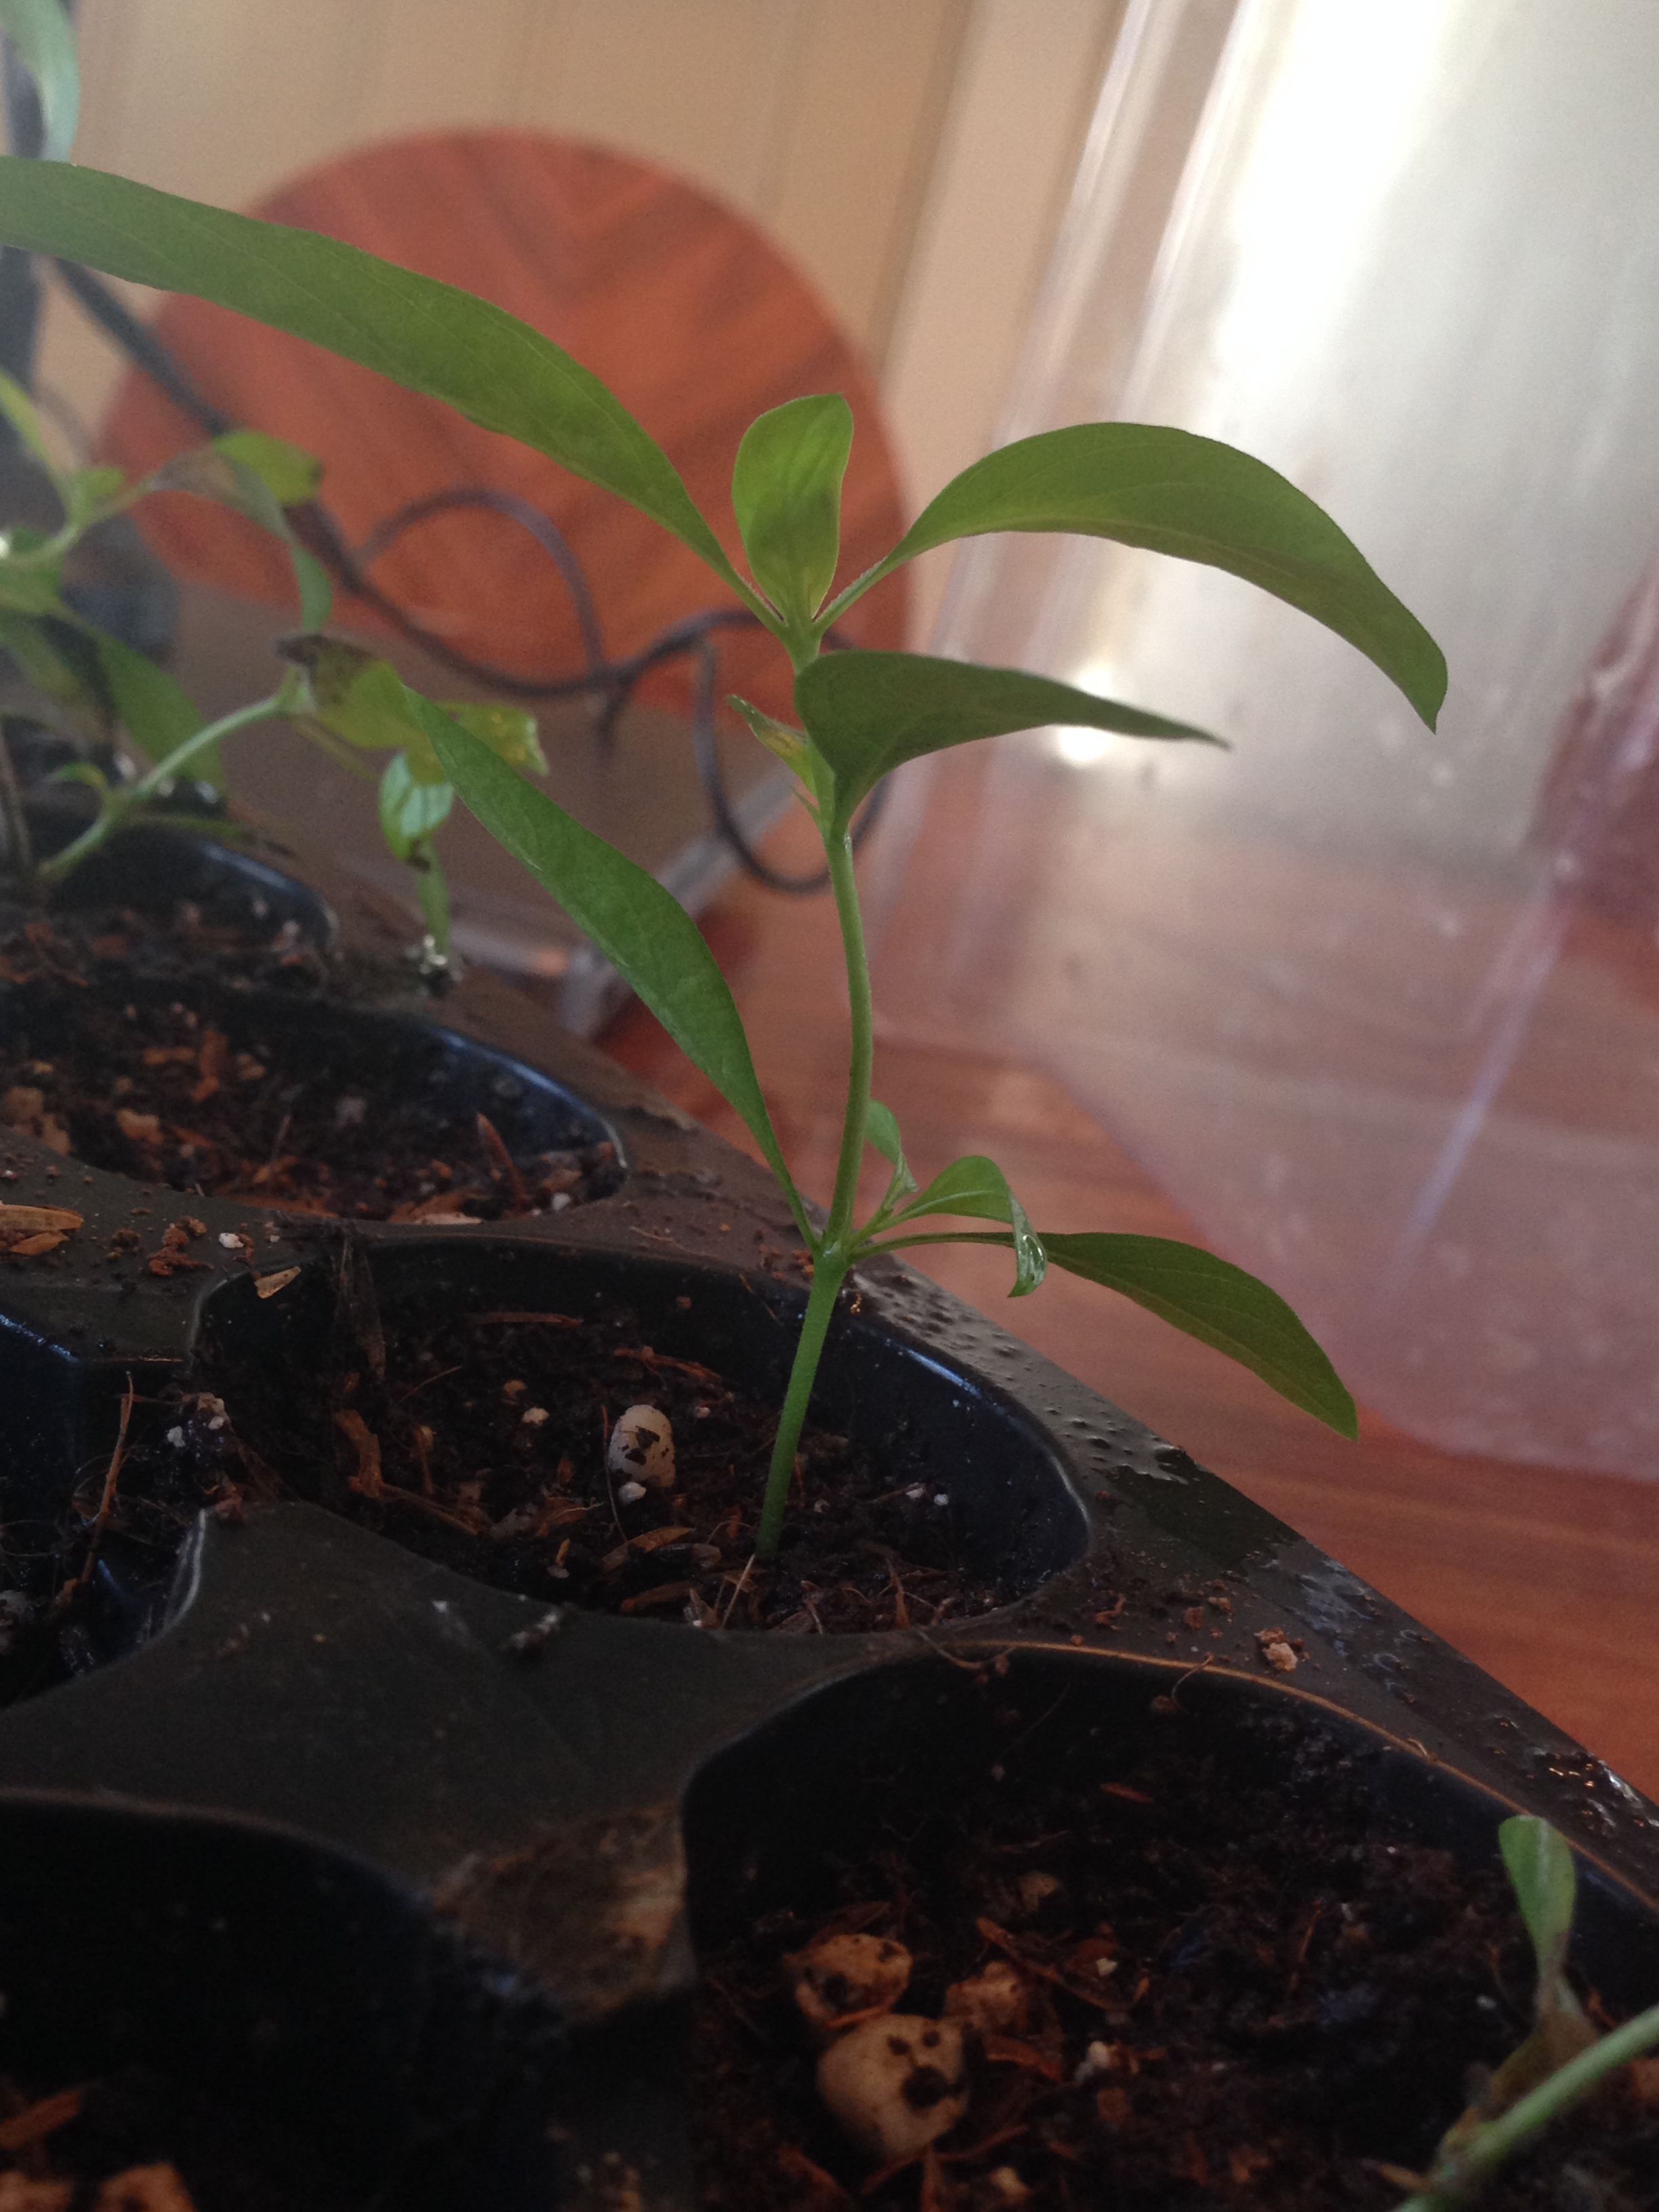
5.) Place a plastic barrier around the pot to trap in moisture.  If you are using a pot, plastic bags work well for this.  Just place the pot in the bag and tie it tight.  If you are using a tray, then a humidity dome will work well.

Growing Cuttings6.) Place your trees in a shady area so they can root.  Water them regularly, and mist the leaves if you notice that they are wilting.

Waterred Cutting7.) Check your cuttings after about a month, depending on the species, to see if they have rooted.  The best way to do this is by giving them a little tug to feel for resistance.  Once all cuttings in your container are rooted, remove the humidity dome and continue to water as normal.

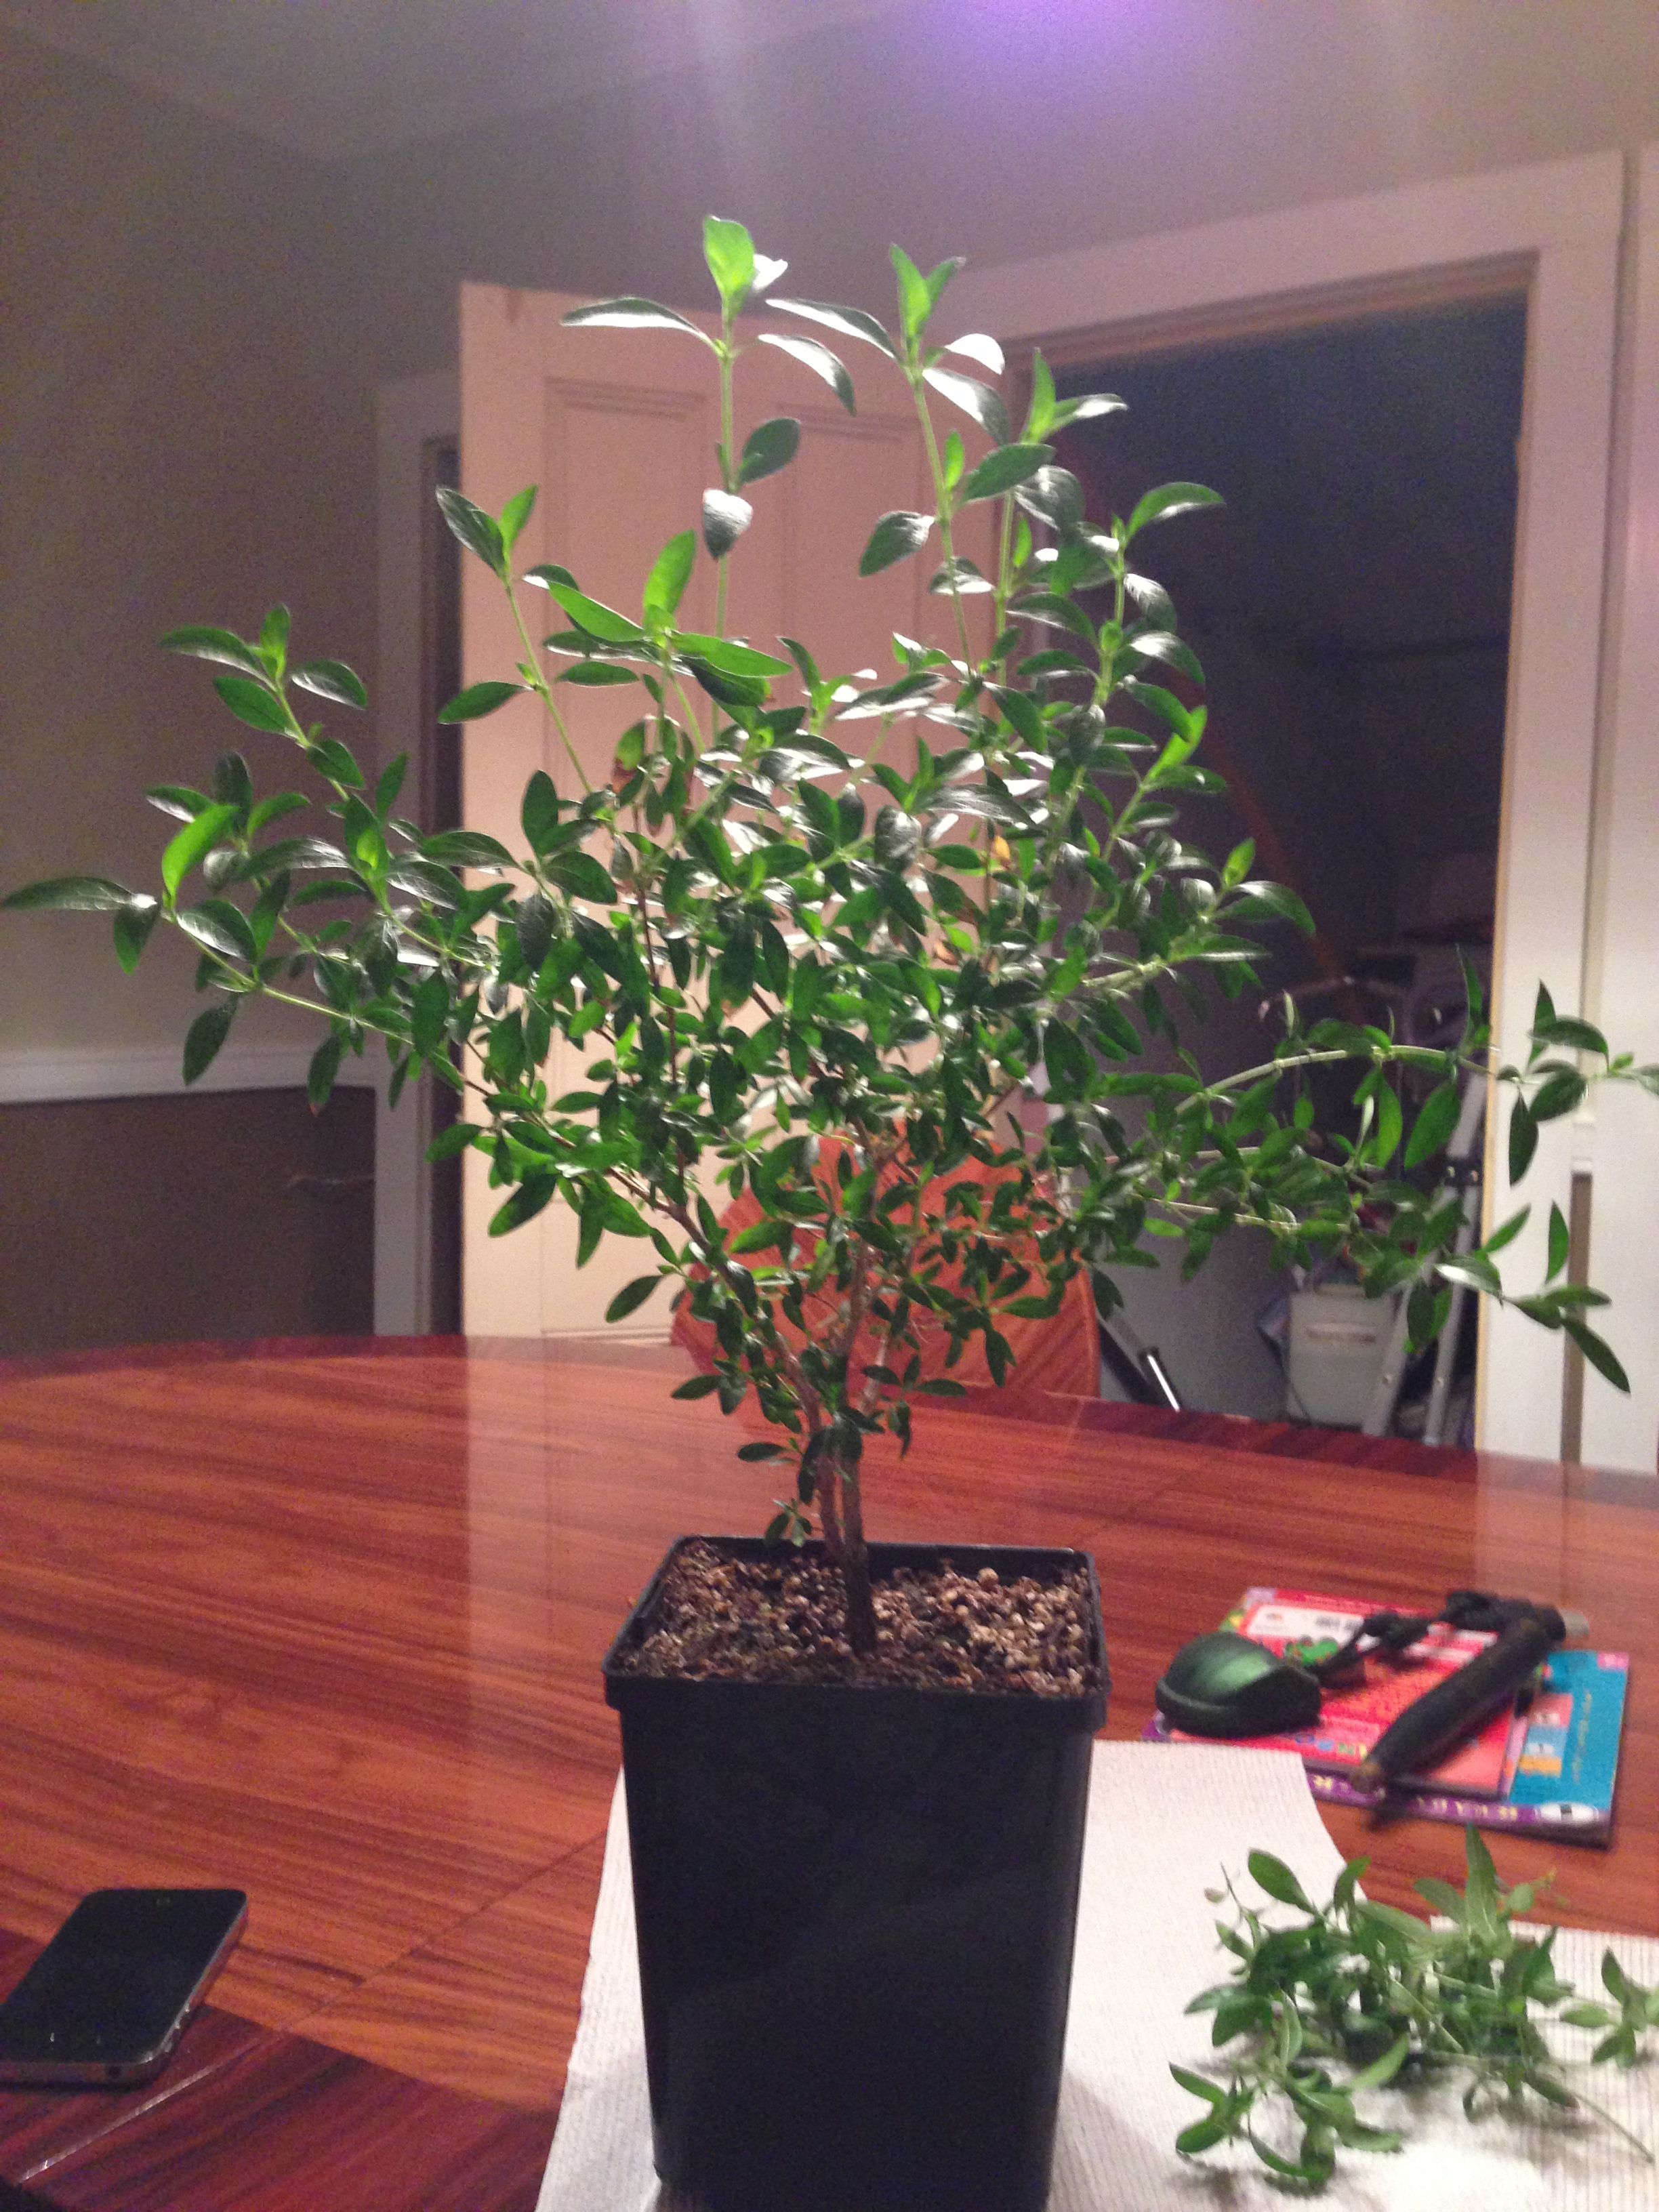
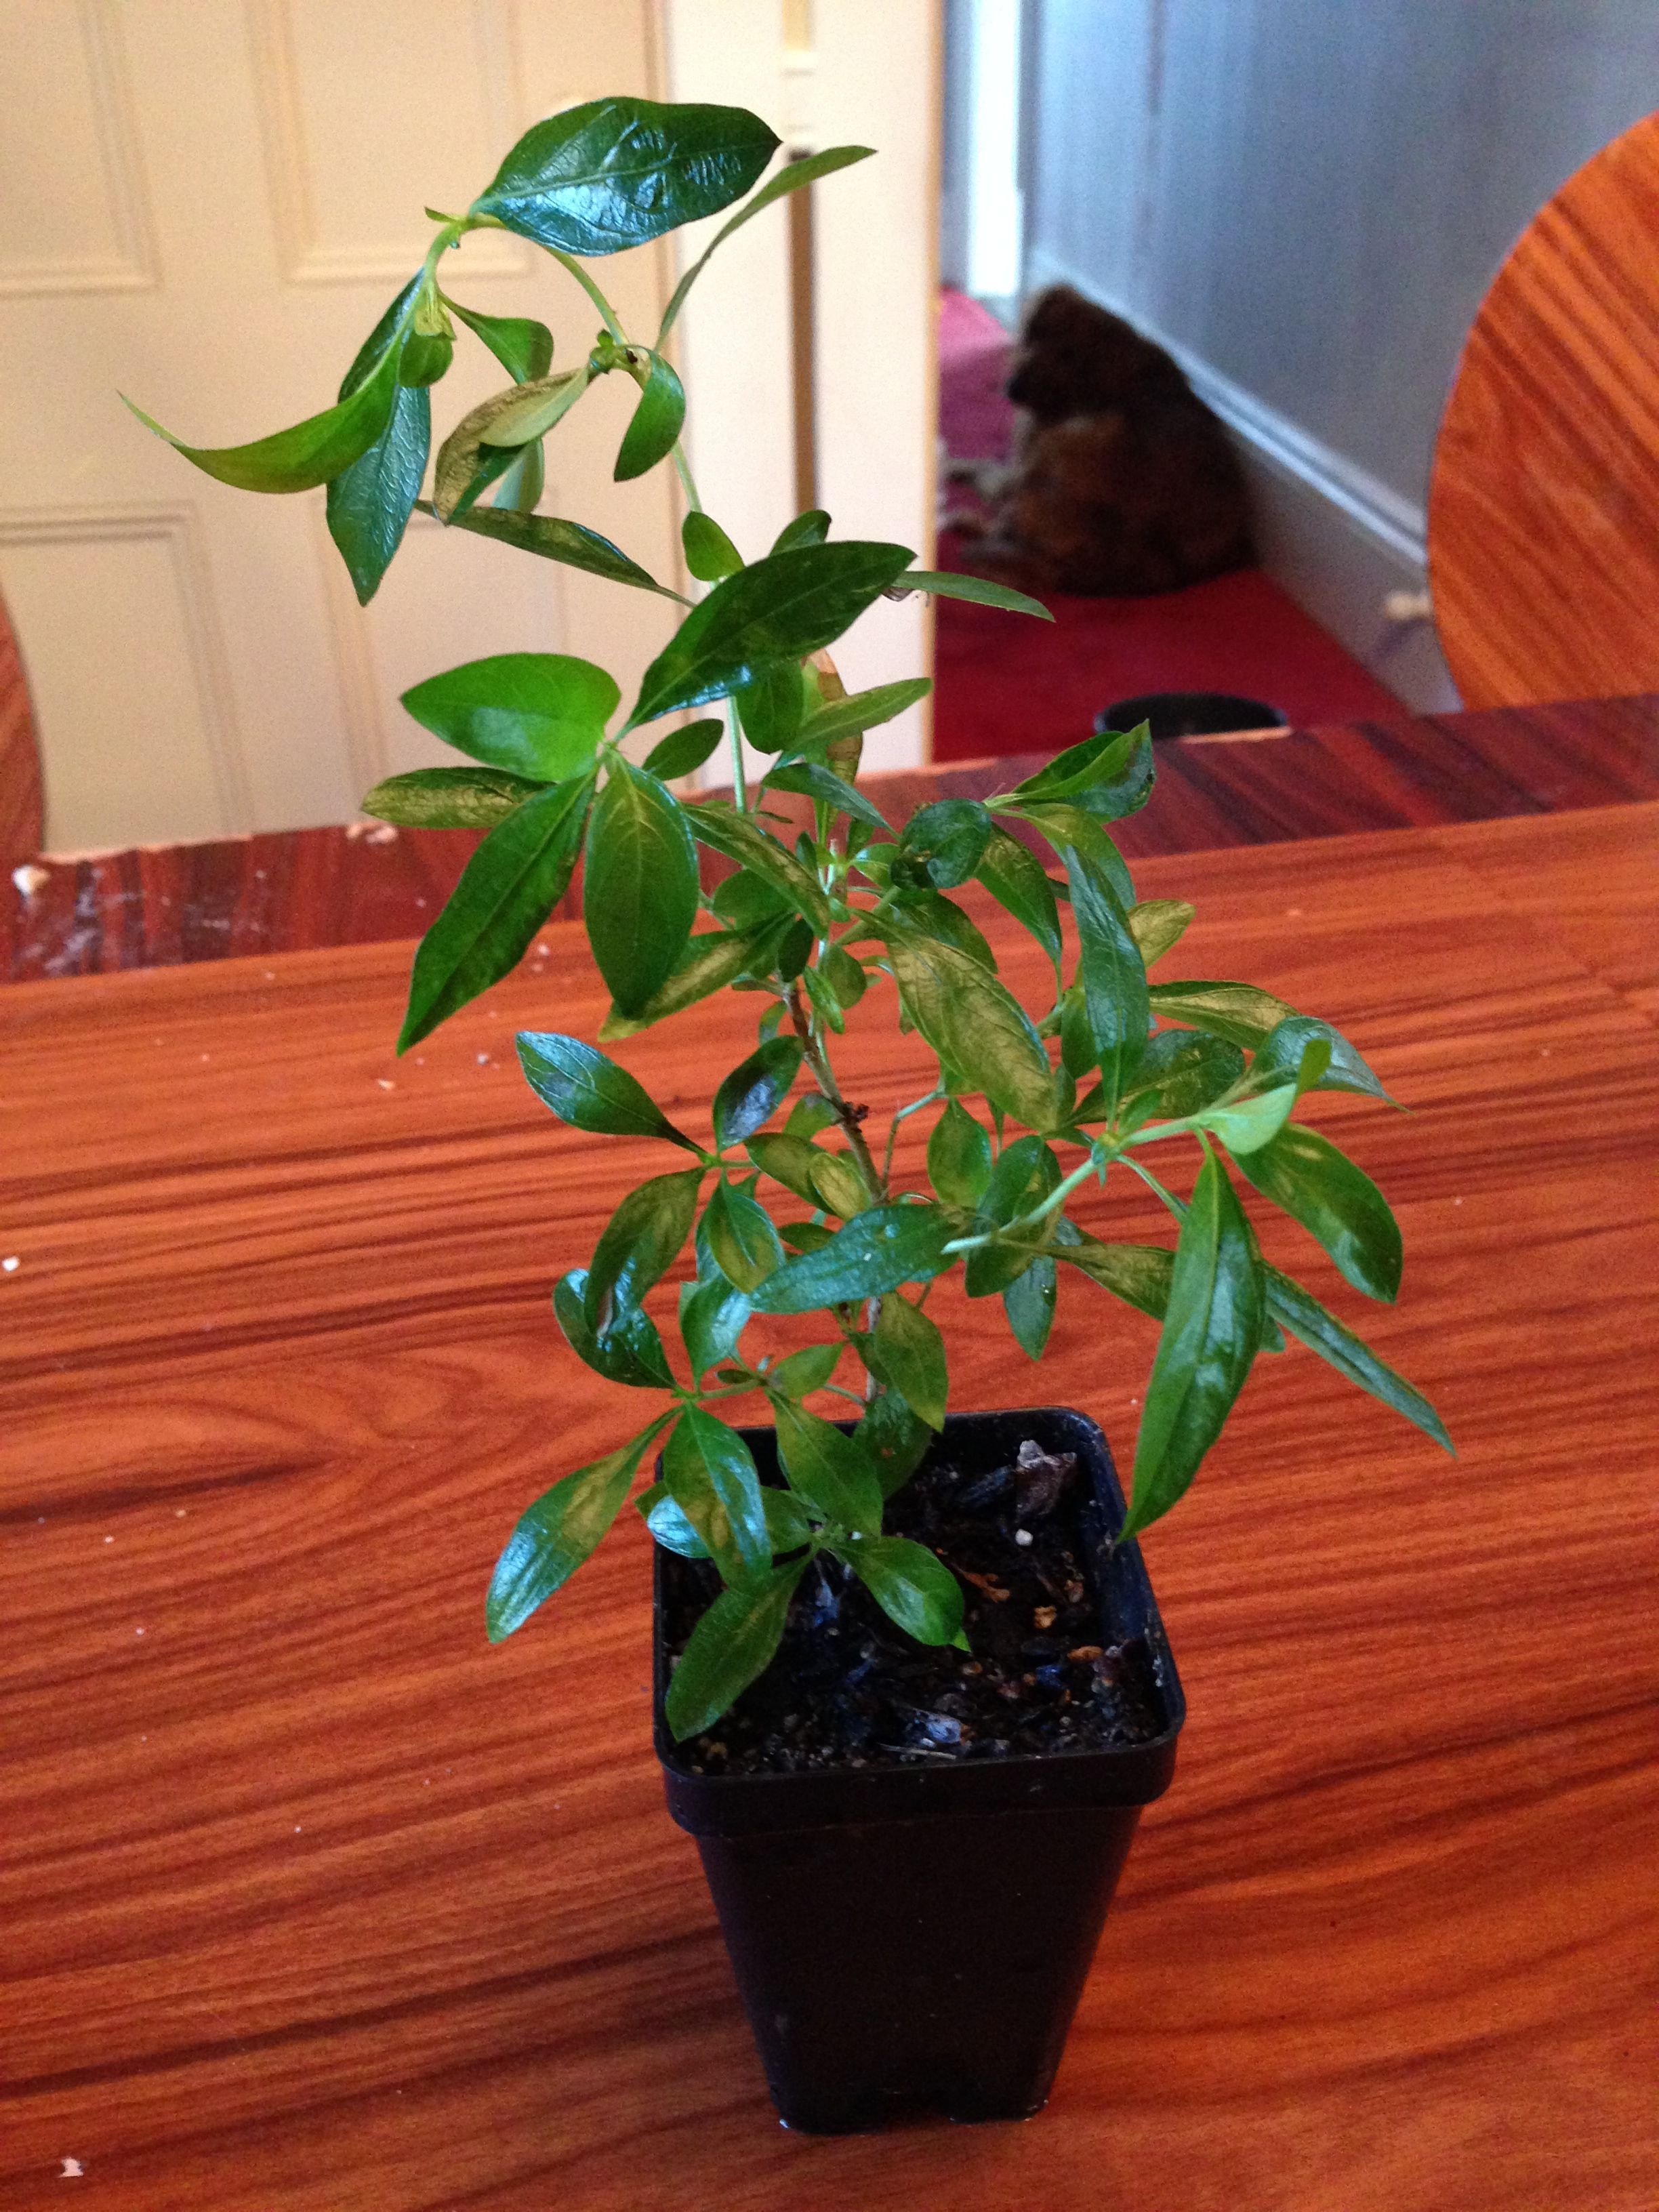
8.) Repot the cuttings into separate pots next spring.  It is possible to repot them after they have rooted but the roots are very delicate and you will inevitably lose some.

Rooted Bonsai Cutting

Tips:

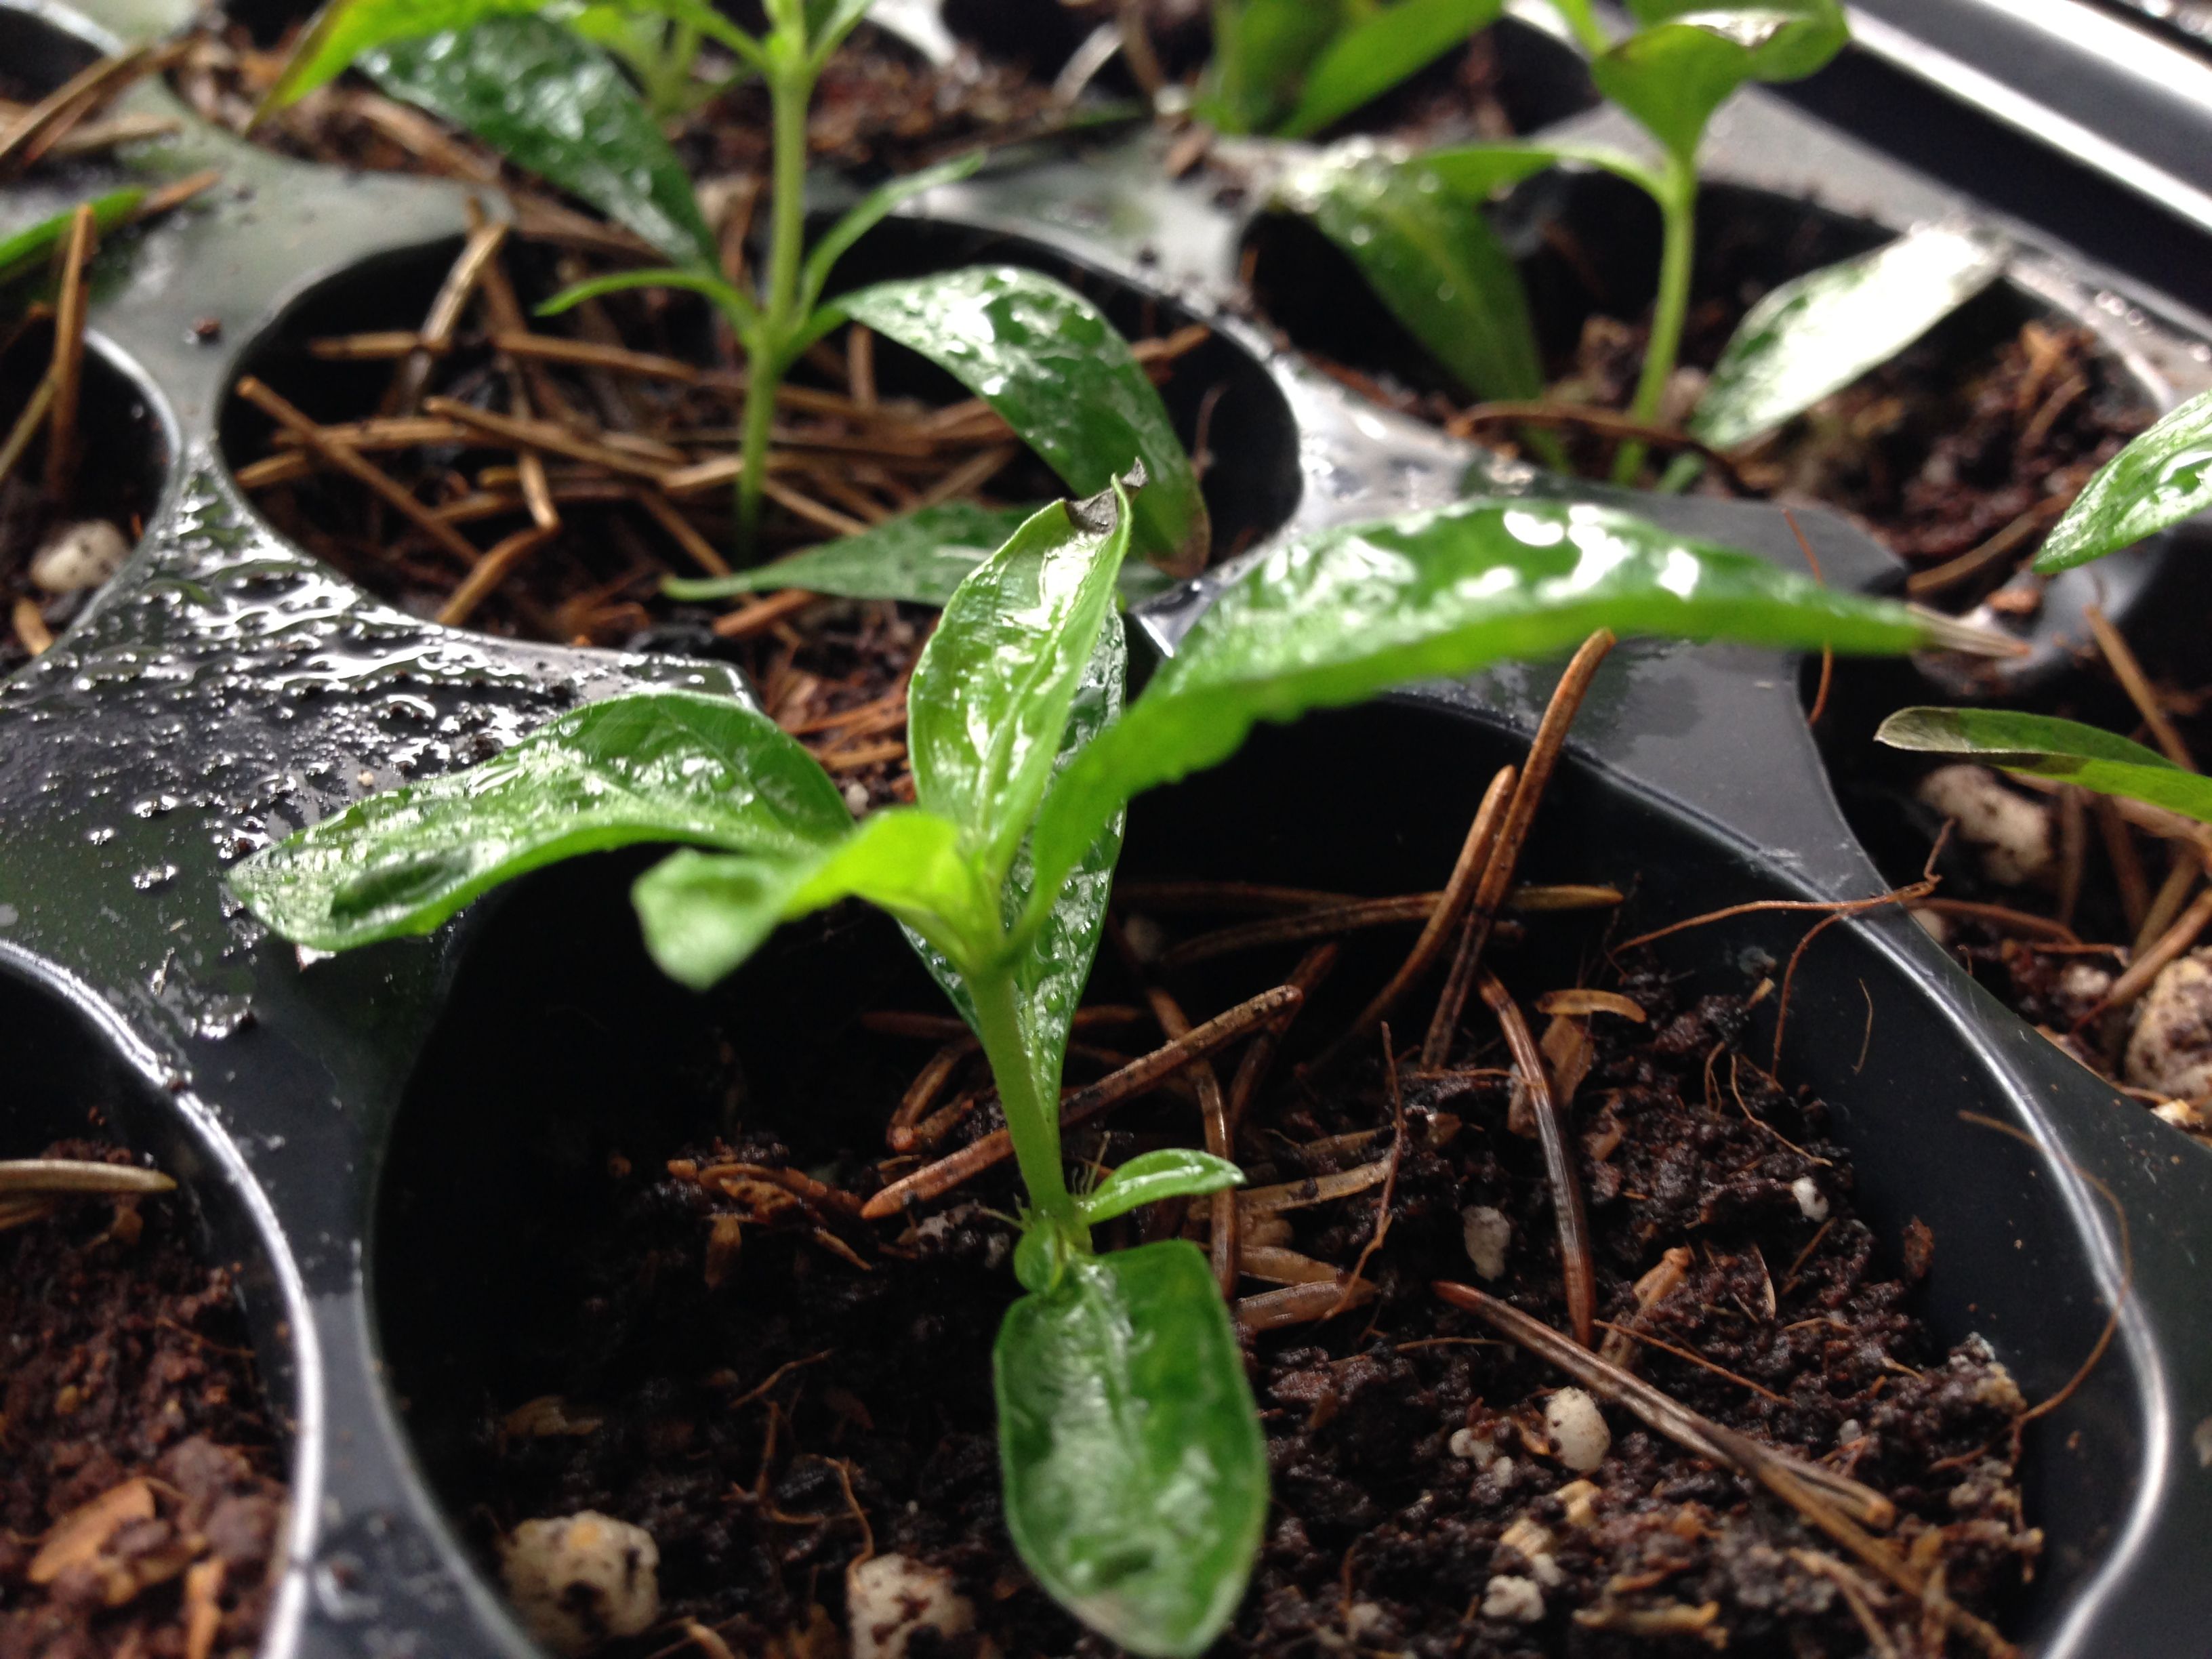
Humidity is the key!  Your trees will not have roots to absorb water, so they will absorb water through their leaves during this process.  I mist my cuttings every day, ensuring I see water droplets on the leaves so they are moist enough.

Once the cuttings have rooted, the large amount of humidity can cause mold issues quickly.  Remove the humidity dome as soon as cuttings are rooted.

Use a sharp knife or sheers to cut the bottom of the cuttings at an angle before sticking in the dirt.  This will make it easier to push them into the dirt.

This is best done with softwood cuttings.  These are cuttings taken while they are still green and haven’t hardened yet.  It will work with hardwood cuttings, but results may vary from softwood results.

Filed Under: Propagation Tagged With: cutting, trimming

Bonsai Training

Bonsai training and shaping is a great way to practice your patience and creative skills. Bonsai training can be a complex technique, however with enough practice, and carefully pruning, wiring, and repotting your bonsai tree you can truly produce a beautiful result, and a more rewarding experience than buying the final product in the store.

Begin with a young, small plant and a bonsai pot. You will also need some wire and some good quality soil.

How to trim a bonsai tree

How to Trim a Bonsai

There are two types of pruning: maintenance and shaping pruning. The best time to do your shaping pruning is during the early spring or autumn. Although with some trees you can prune them at any time.

When creating your bonsai tree, you can begin by tidying up your plant. You will need to decide what shape you would like to create with your bonsai. It can take some time for branches on your tree to grow back, so be careful of which ones you are pruning. When you are pruning, work your way upwards, and use concave pruners for any larger branches. Begin with the larger branches, and decide which ones you would like to keep, and which ones you would like to prune back. Your tree needs to remain balanced, so take this into account. For the most effective bonsai trees, retain any curved branches, and ones which are easily malleable with wire. If you have any unusually thick branches at the top of the tree, these could be effective too.

Once you have your general shape in order, begin pruning the smaller branches. You can also prune back some of the leaves to promote growth, so that you have lush small green leaves growing later on

Wiring

When you have finished pruning your tree, you can begin the wiring process. Carefully wind the wire around the larger branches of the tree, at no more than a 45 degree angle so you don’t cause the tree too much stress.

The wire should be approximately one third of the thickness of the branch, and if two branches of the tree are approximately the same size, then try to use the same piece of wire. Another good rule of thumb is to try and move the branch by pressing the wire against it – if it’s the wire that bends, then you will need a slightly stronger wire.

Begin by pressing the wire into the soil – if it runs into a root, just try to insert the wire into another spot where there is no root in the way. Bend the wire, so it wraps around the tree, however it is important to leave a small space for some small movement. When you are finished with the larger branches of the bonsai, you can begin wiring the smaller branches.

Ensure that all of your branches have wires around them, before you begin styling the position of the bonsai plant. When you bend the branches, make sure that you wrap your hands around the branch, along with your thumbs positioned over the top – try to cover as much space as possible so you can provide as much support as possible. Don’t use quick movements, you want to position the tree into place slowly so that no branches are broken.

Once you have finished moving one of the branches, hold it in place for a few seconds, and then if you need to move it further then try again. Once you have moved a few branches, let it rest, and then you can make some more movements. It’s also important to step back after a few movements to make sure you are achieving the shape that you wanted, and no unnecessary movements are made. You may find that you need to add more wire to your plant if you can’t get the shape you desire.

Repotting

Repotting a BonsaiYou will need to have a special bonsai pot for your tree. Attach two wires to the pot, so that they are sticking up – these will be used to attach the bonsai tree to the pot. You can cover the two holes of the pot with some plastic mesh so that the soil stays in place.

For the bonsai soil mix, you can buy prepackaged soil mixes which are specially designed for bonsai trees, otherwise you can mix your own. The purpose of the soil is for the water to drain very quickly, about twice as fast as natural soils. Your soil should provide nutrients via organic matter, as well as a soil filler such as course sand or finer aquarium gravel. The soil should also be able to hold water, so you can also mix in some compost. As you become more advanced in your bonsai training, you can experiment with different soil mixtures.

Remove your bonsai tree from its container and massage the base to remove any loose soil. Use a root hook to tidy the roots, and to expose the trunk of the tree. You may need to use a pair of gardening scissors to prune the roots of the tree so that it can fit into the special bonsai pot which you have already prepared. Don’t prune away more than a third of the roots of the tree, or you could cause the plant to go into shock.

Add some soil into your bonsai pot, and you can now place the tree into the pot, after deciding which way that you would like it to face. You can use the wires which you attached earlier to fix the bonsai tree firmly to the pot and it is unable to shift around. Use some pliers to twist the wires together so they also stay firmly in place. Cover the rest of the tree with the prepared soil, and use a stick or a pen to ensure that the rest of the roots are all covered with bits of soil. Give the tree a water.

After about two months, you can remove the wire from the tree so that the branches don’t get damaged.

Back Button Buy Now 

Bonsai Styles

Trunk Styles

Formal Upright (chokkan)

Formal Upright Style Bonsai - Bonsai StylesThis tree style is the typical upright, straight tree style that you imagine when you picture a tree.  This style has a tapering trunk, meaning it is larger on the bottom and gradually reduces in size from bottom to top.  Surface roots in all directs are traditionally seen in this style to show the root strength it takes to hold an upright tree in place.  Braches should protrude naturally from large to small as you progress up the tree.  This is one of the most common bonsai styles that users choose when styling there bonsai.

Informal Upright (moyogi)

Informal Upright Style Bonsai - Bonsai StylesInformal Upright trees include visible curves in the trunk, but eventually the apex (or tip) ends directly above the base.  Much like the formal upright style, braches protrude naturally from large to small as you progress up the tree, but placement of the branch on a bend me require adjustment.

Slanting (Shakan)

Slant Bonsai Style - Bonsai StylesThis bonsai style requires a tree that is straight and tapered just like a formal upright.  The difference is that the trunk emerges from the soil at a slight angle, resulting in an apex to the left of right of the base.  Though the tree is slanting, the branches of these trees will still be parallel with the soil.  This style requires a strong root system to ensure that tree stays in place.

Cascade (Kengai)

Cascade Bonsai Style - Bonsai StylesCascade bonsai are modeled after the trees that grow sideways off of a ledge, like the side of a mountain.  The apex of the tree falls below the base of the pot, requiring extremely strong roots to keep in place.  This style is typically planted in a taller pot to allow deeper roots and a sturdier plant.

Semi-Cascade (Kan-Kengai)

Semi-Cascade Bonsai Style - Bonsai StylesFor a semi-cascade bonsai, the tree is much like the cascade style but the apex does not fall below the base of the pot.  The apex typically falls just below, or up to halfway down from, the top of the pot.

Multi-Trunk Cascade (Taken-Kengai)

This style is the same as cascade style, but includes multiple turns on the tree cascading downwards.

Most Recent Posts

  • How to Choose Bonsai Pottery for Your Tree
  • How to prepare a bonsai for winter
  • “Indoor Bonsai for Beginners: Selection – Care – Training” Review
  • How To Kill Spider Mites
  • Step by step guide how to pick a pre-bonsai or nursery plant

Copyright © 2023 · Lifestyle Pro Theme on Genesis Framework · WordPress · Log in